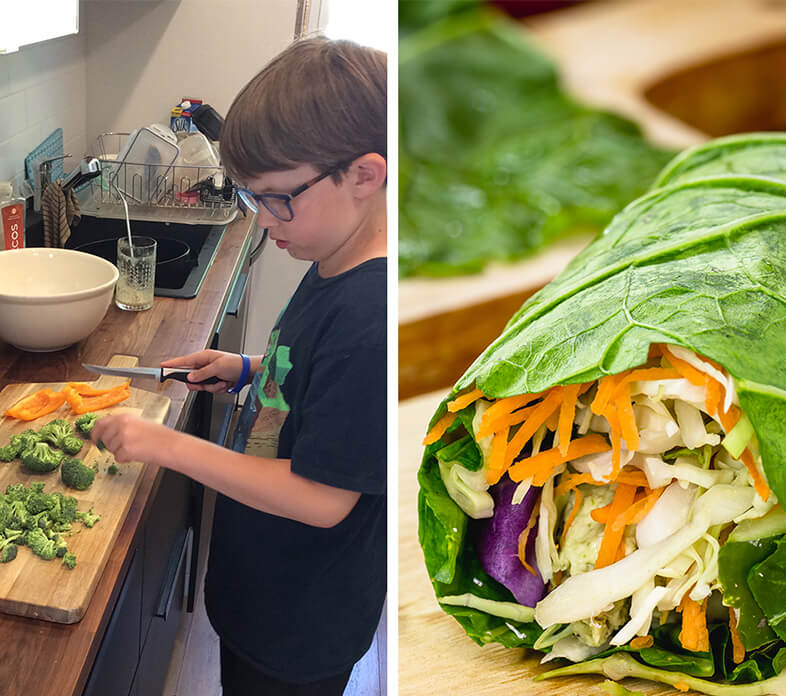
Meatless Lettuce Wraps
 Time:15 min
 Difficulty:Easy
Bust out those veggies because we’re making some delicious lettuce wraps! Make sure to ask a grown-up for help with this dish.
Here’s what you need:
Here’s how you make it:
Step 1:
If you’re using beans and rice, prepare them according to their instructions.
TIP: for extra eco-friendly points, use leftovers!
Step 2:
Wash and chop up your veggies. Cook them up if you want them to be softer, or leave them raw for some crunch!
Step 3:
Get some big lettuce leaves, wash them and let them dry.
Step 4:
Grab some of your prepared ingredients and veggies, and place them in the middle of one of your lettuce leaves.
Step 5:
Add some hummus for some extra flavour.
Step 6:
Fold your lettuce around the ingredients and enjoy!